This post may contain affiliate links. Please read my disclosure and privacy policy.
This post may contain affiliate links. Please read my disclosure and privacy policy.
My DIY version of Sweet and Spicy Kind Bars (barbecue flavor). They are easy to make, plus vegan, grain-free, oil-free and gluten-free.
Baseball and summer camp and sweaty car travel with little boys–oh my! Summer vacation is unmistakably here!
If ever I needed extra energy, it’s now, so I am returning to one of my very early energy bar posts from years and years ago for homemade KIND bars. This time, however, I’m treading into savory territory with my knockoff version of Sweet & Spicy KIND bars.
They are even better than they appear. As in, lick-every-sticky-finger-clean delicious.
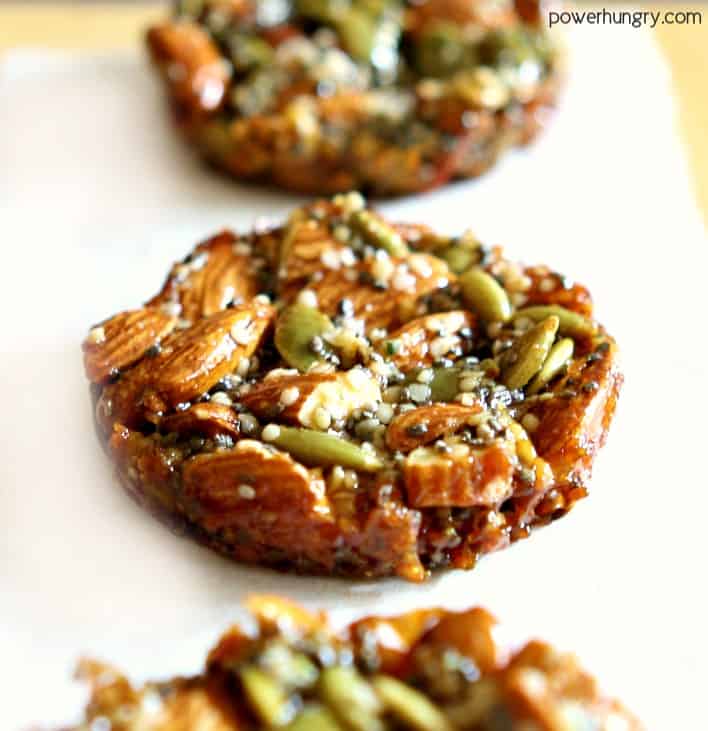
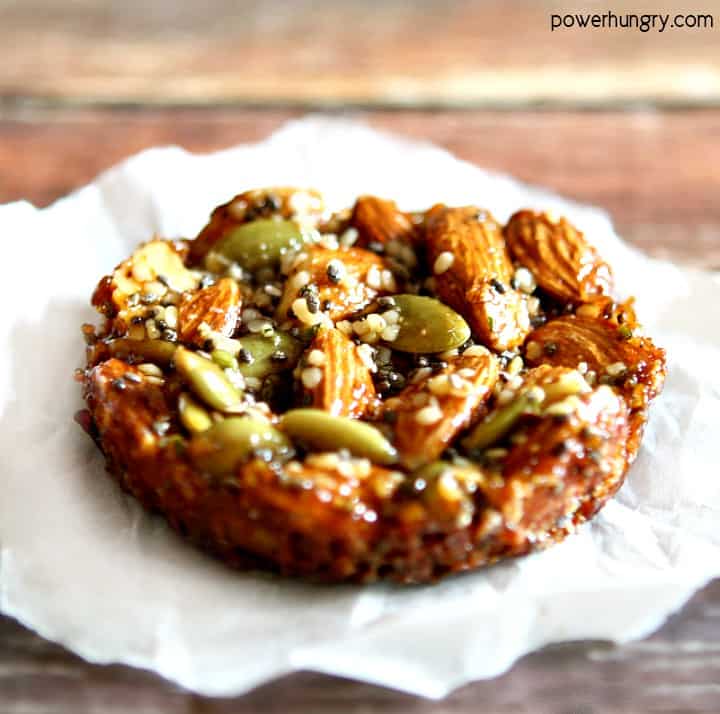
One of the first things you’ll notice is that shape of my DIY bars departs from the rectangular original. It’s partly for this year of pucks, but it’s mostly about simplicity. I’ve made countless batches of my KIND bars recipe and cutting them into bars is a sticky chore, often resulting in highly irregular shapes.
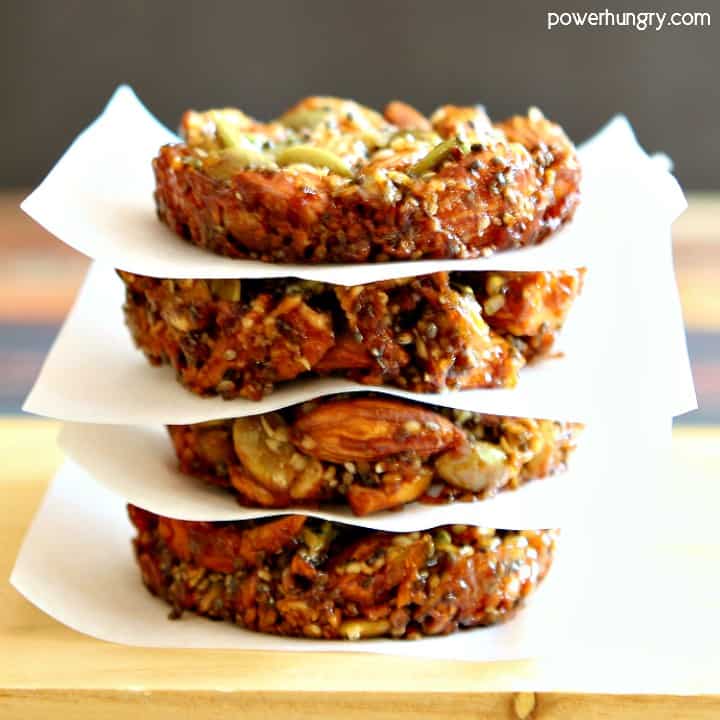
The muffin tin solves all and the results are pretty as a picture! The muffin tin rounds are a bit smaller than bars–two is the equivalent of one bar–which is handy for transporting as well as portion control.
One step is imperative: line the muffin cups with liners (paper, foil, or silicone liners, all will work). These will stick like nobody’s business if you do not. With the liners, in place you simply cool the pucks entirely in the pan, lift out the lined pucks and peel off the liner. Done!
It didn’t take me long to figure out a way to create the signature salty-sweet-smoky flavor of the bars: prepared BBQ sauce in place of some of the usual sweetener. It’s the season of grilling anyway, so buy a good-quality brand if you don’t already have one on hand. For testing purposes, I used this one (Newman’s Own Hickory BBQ) because it was in the refrigerator already (I have no connection to the brand). I added a bit of spice, too (cumin and garlic powder) to further up the savory aspects of the bars
I used the nuts and seeds used in the original version–almonds, pepitas, and hemp seeds, plus a little bit of chia seeds–but please do not feel beholden to this combination. Use what you like and make them your own!
Option Adding Protein Powder (+ Reducing the Stickiness!)
The sweet and spicy bars include some added protein in the form of pea protein crisp. Since such protein crisps are not available for purchase, I decided to try a batch using a bit of plain, unflavored protein powder. There isn’t much syrup mixture holding these together, so I started by adding 1 teaspoon at a time. I ended up adding 2-1/2 teaspoons of pea protein.
And guess what? Not only did it work, but it also reduced the stickiness of the bars, a huge boon in these hot and humid summer months! You certainly do not need to add protein to these, but if you have some unflavored protein powder on try adding a few teaspoons (you still want there to be a sticky coating on the nuts/seeds, so be careful not to add too much).
Happy eating everyone!
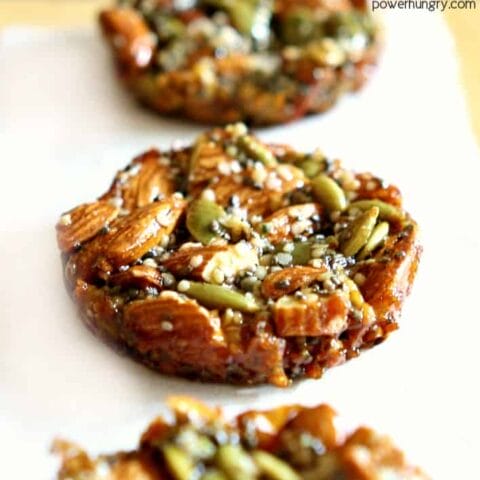
DIY Sweet and Spicy KIND Bars {vegan, gluten-free, oil-free, grain-free}
My DIY version of Sweet and Spicy Kind Bars (barbecue flavor). They are easy to make, plus vegan, grain-free, oil-free and gluten-free.
Ingredients
- 3/4 cups almonds, very coarsely chopped
- 1/4 cup pepitas (green pumpkin seeds)
- 2 tablespoons hemp hearts
- 1 tablespoon chia seeds
- 2 tablespoons brown rice syrup (important for making these stick! other syrups do not work)
- 1 tablespoon prepared bbq sauce (preferably a smoky one)
- 1/4 teaspoon EACH ground cumin, garlic powder and fine sea salt
- Optional: 2 to 3 teaspoons unflavored vegan protein powder
Instructions
- Preheat oven to 325F. Spray or grease 10 cups of a standard muffin tin .
- In a medium bowl stir together all of the ingredients until blended. Divide evenly among prpeared cups. With moistened fingertips. Lightly press down mixture in cups.
- Bake in preheated oven for 12 to 14 minutes until almonds are fragrant and deep golden brown. Transfer tin to a cooling rack and cool completely in pan. Place the cooled tin in the refrigerator for at least 30 minutes.
- Using the tip of a butter knife, remove pucks from pan.. Eat!
Notes
Storage: Store in an airtight container at room temperature for up to 3 days (unless it is hot and humid), the refrigerator for up to 2 weeks or the freezer for up to 3 months.
Nutrition Information
Serving Size 1 puckAmount Per Serving Calories 98Total Fat 7.2gSaturated Fat 0.8gSodium 61mgCarbohydrates 5.7gFiber 2.2gSugar 0.9gProtein 3.8g
